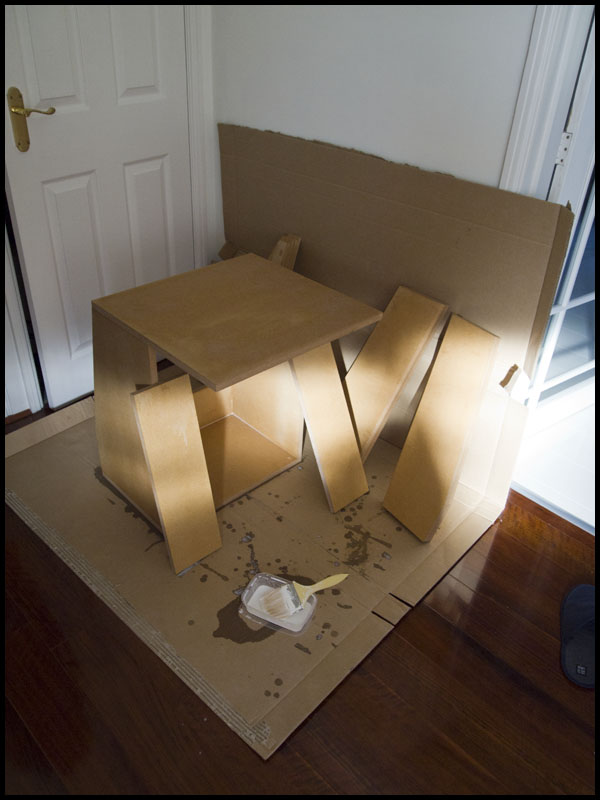
Time to finish off the base cabinet!
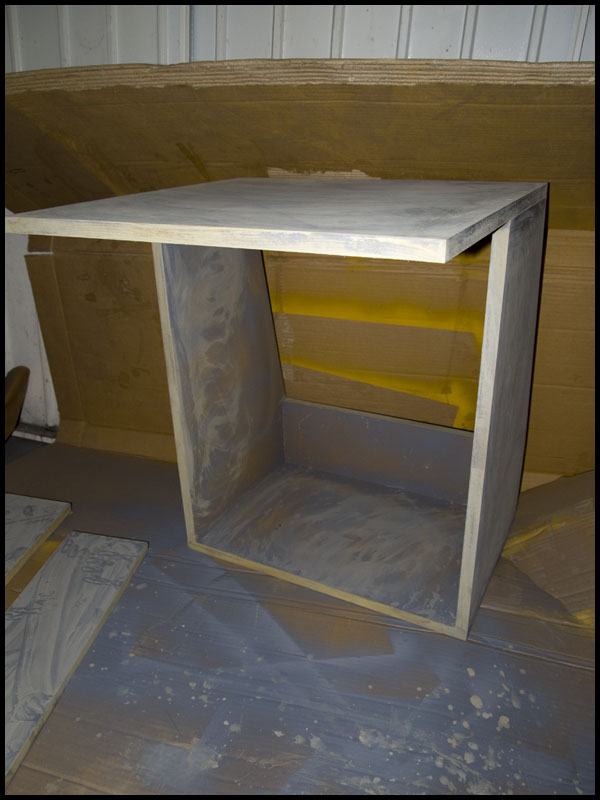
Firstly I sanded all cut edges, which was pretty quick with a electric palm sander. The next step is to seal it to make the porous MDF surface non-porous. This is in my opinion a very important step that a lot of people have missed out. By sealing it, it has some resistance against moisture, makes the surface smoother and more importantly cuts down the number of layers of primers needed very significantly – a sealant is much cheaper than primer!
I used one part PVA (white wood glue) mixed with one part water, and used a paint brush to wipe it all over. A pretty easy but important step I think.
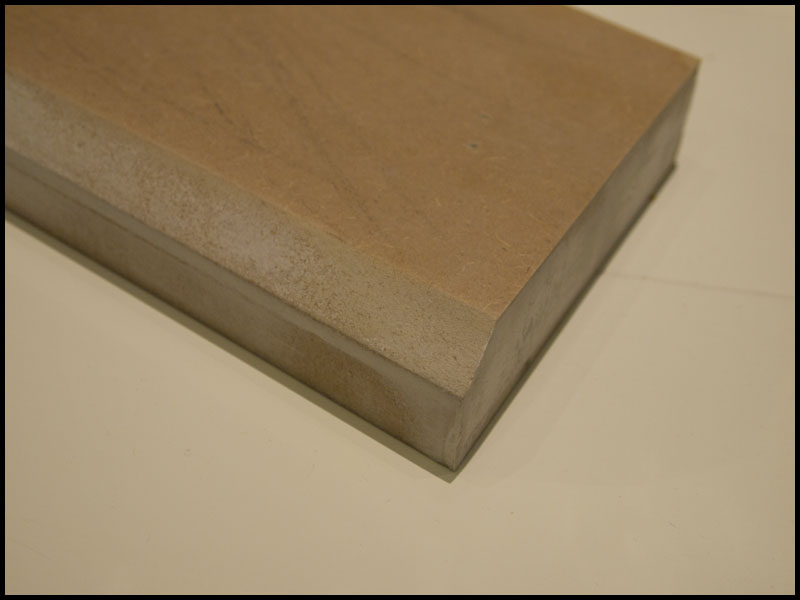
Then I used a thin layer of crafting putty on the cut or joined edges to make them perfectly smooth. Originally I was going to use standard car body filler to do the job, but having thought about it, I think crafting putty is more suitable in this case. Crafting putty dries quicker, costs less, is as fine, and more flexible, than car body filler, and as it is going to stay indoor forever it doesn’t need the properties of car body filler to guard against elements and extreme temperatures. Oh by the way at the same time I also re-routed the chamfer to 3/4″ for a better look 😀
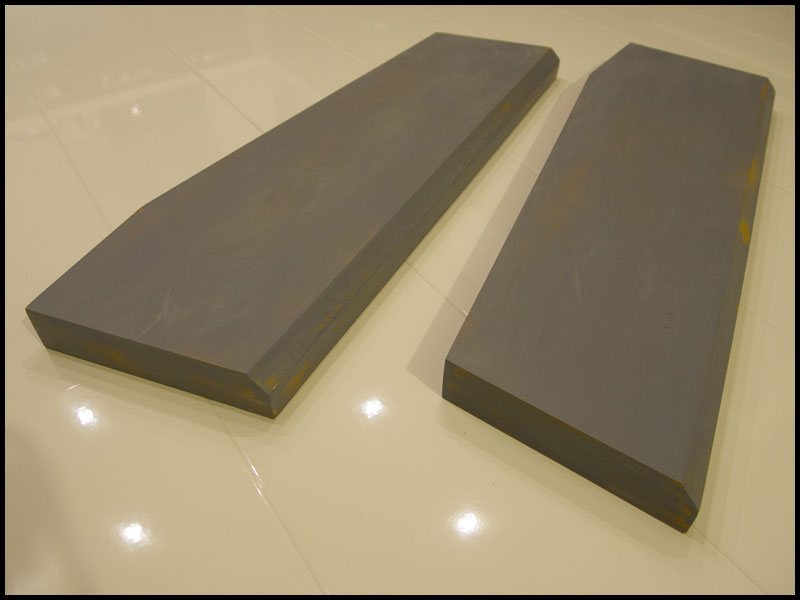
After filling it’s time for sanding. All the surfaces are sanded with 400 grit wet & dry to get rid of all the MDF “fibre bumps” and make it a better key for the primer. Next up is a few layers of high build primer to hide all minor imperfections. I used Halford’s filler primer (orange colour) which performed alright. Then comes a few layers of normal car-use grey primer. Once dried everything is quickly sanded with 800 grit wet & dry for perfect smoothness.
The were actually a lot of sanding in between each step/layer to ensure smoothness. It was very tedious but necessary.